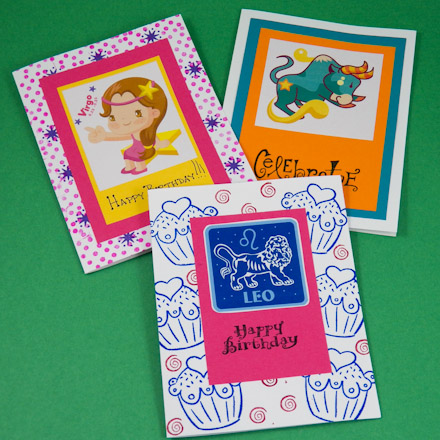
It's easy to personalize a birthday card for someone by using their zodiac sign. In this project, you'll see how to use free clip-art images available on the internet as the featured element of the card. All you'll need to do is download and print the images, and add some colored paper, a greeting and an optional stamped background.
This card is based on the technique presented in the Matted Clip-art and Photo Cards tutorial from the Greeting Card Class. If you are new to card-making, review these tutorials for ideas and basic techniques.
Cut a full sheet of letter-size (A4) cardstock in half to make two 8½" by 5½" (210 by 148.5 mm) card blanks. Fold one card blank in half to make a 4¼" by 5½" (105 by 148.5 mm) card. For how to make envelopes, see the Four Patch Cards tutorial or the Envelopes to Make craft project for templates and instructions.
Clip-art is freely available on the internet at many web sites. Just search for the zodiac symbol you want and include "clip art" at the end—like "libra zodiac clip art" or "zodiac clip art". Choose a clip-art image and copy or download it.
To print the clip-art image, open a graphics or word processing program and paste the image from the clipboard or saved file. In Microsoft Word, it is super easy to copy the image from the clipboard and then size it using the Height and Width tools on the Format tab. You can also print the image directly from most web browsers with a right-click. Aim to print the clip-art from 3" by 4" to as small as 2" by 2" in size. Cut the clip-art in a rectangular or square shape, leaving a small border of white around the image.

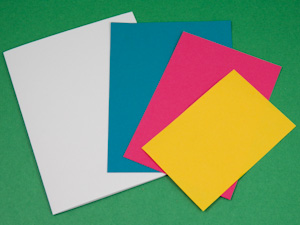
Select a color of cardstock or heavy paper to use as a mat behind your image. See how to select mats for colored clip art in the Matted Clip-art and Photo Cards tutorial.
Cut a mat that is a bit larger than your image. Mat sizes that work well for this size card are: 2½" by 3¾", 3¼" by 4½" and 3¾" by 5". Tip: Use the printable templates below to cut mats of these sizes.
Tip: If you plan to stamp or write a message on the card front, be sure there is space above or below the image that leaves room for the words.
Tip: If you like, cut another mat in a different color that is a bit larger than the first mat to create a double mat.
Project extra: Download, and print on cardstock, Aunt Annie's printable templates for mats to make mat cutting easier. Choose your mat size, cut out the template, then anytime you need a mat of that size just trace it and cut. As a bonus, you can use the larger mat templates as card mats.
Digital paper: Download and print Stamped purple stars on pink dots to make larger mats, wrap a gift to coordinate with your card, or make a gift box.

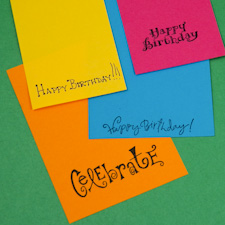
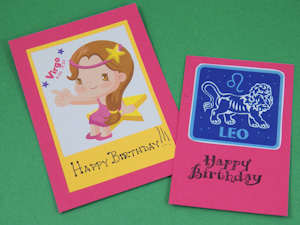
Arrange the clip-art and mat(s) on the card front, keeping in mind any words you plan to add. When you are satisfied with the placement of the card elements, hand letter or stamp "Happy Birthday," or another greeting.

Glue the clip-art image to the mat(s) and glue the matted clip-art to the card.
That's it! Your zodiac birthday card
is done!
