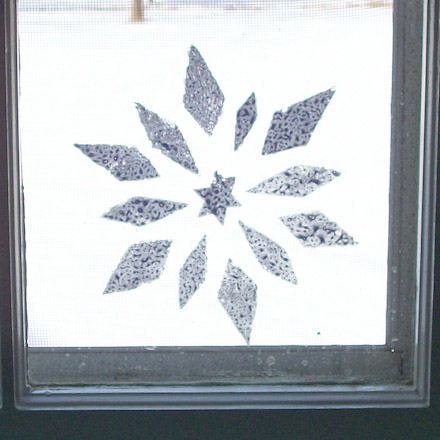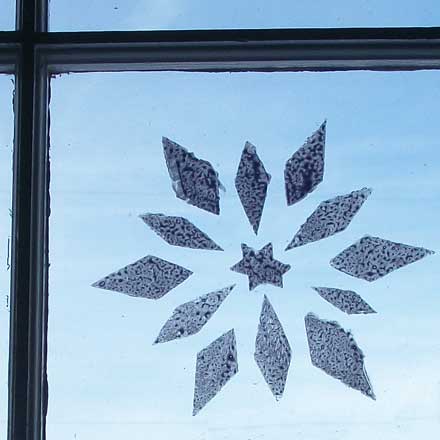
Decorate your windows with colorful snowflakes using paper snowflakes as stencils. The stencils are easy to make and use, and, with Aunt Annie's special poster paint mix, the stenciled snowflakes will wash off the window with ease.
This project is great for family, classroom or group craft time. With a little preparation by the adults or teen leaders, this project is fast and fun.
Related crafts: In the Symmetry in Snowflakes craft project, get instructions and cutting patterns for making paper snowflakes while learning about the repeating patterns found in every snowflake. And checkout the Easy Paper Snowflakes craft project for a simple way to cut snowflakes, but use computer paper instead of tissue paper when making snowflake stencils.
Have more stencil fun in the Stenciled T-Shirts, Stenciled Flower Pots, Stenciled Cards and Festive Window Stencils craft projects.
Gather the materials, including scissors and lightweight paper for making paper snowflakes. Cut the paper into squares of various sizes that fit the panes of the window(s) you'll be decorating.
Cut the sponge into four to six pieces. Tip: The sponge will be easier to cut if it is damp.
Cut paper snowflakes in a variety of sizes and designs. See Aunt Annie's directions on how to cut paper snowflakes if you need them.
Spread newspapers under the window you plan to decorate. This will protect the floor from any spills or drips. Clean the window with a spray cleaner and let dry.
Pour a small amount of water-based poster paint or acrylic paint onto the plastic lid. Add a few drops of dishwashing detergent and mix using your paintbrush.
Wet the sponge pieces with water and wring them out as much as you can. The sponge just needs to be damp.
Place the paper snowflake on the window where you want the design to go. Hold the stencil in place using small rolls of masking tape on the back side of the snowflake.
With a sponge piece, apply the paint mixture to the stencil—use just a little paint at a time. Apply the paint using an up-and-down dabbing motion. This is called stippling. Be sure to cover the entire cutout area of the snowflake with paint. You can also dab paint around the outside edges of the snowflake if you like!
Loosen the tape and pull the stencil straight off the window. Let the paint dry.
The same stencil can be used about three or four times. To make a longer-lasting stencil, use freezer paper or special stencil paper.
When you are done with all the stencils, wash the sponge, paintbrush, and lid with warm water. Pick up the newspapers protecting the floor and discard them.
Now that you are done, stand back and admire your work. Don't forget to look at the snowflakes from outside, and especially enjoy how they look at night with the light shining in the window and the drapes closed.
That's it! You are done!
