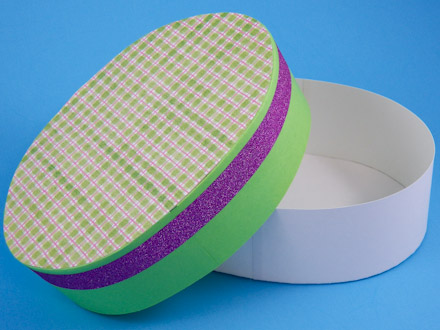
It's fun to design and make your own oval-shaped box and lid to exactly
meet your needs. In this project, you will create a custom pattern for
any size oval box. The box
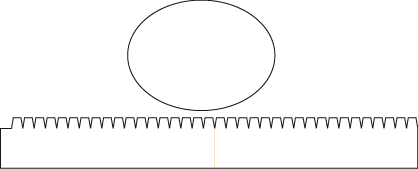
pattern consists of an oval (or round) cutout and a notched side band.
The same pieces are needed for the matching oval lid, but the oval cutout is slightly
larger and the notched side strip is narrower.
Related craft: For printable oval box patterns, see the Oval Box with Lid craft project.
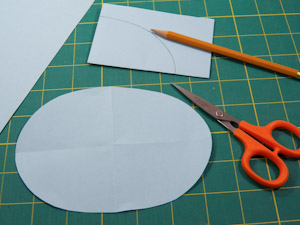
Draw an oval (or circle) to size for the box bottom. You can draw the patterns directly on the cardboard's reverse side, or draw it onto paper and transfer to the cardboard.
Tip: An easy way to make an oval is to fold a sheet of paper in fourths and cut one-quarter of an oval from one folded edge to the other. Open the paper to reveal the oval. If any adjustments are needed, refold the paper and trim. Or, use a graphics program on your computer to create oval patterns for the box and lid or maybe one of the ovals on the oval templates printable will work for you.
Tip: Write "Box Bottom" on your paper pattern and save it for future use.
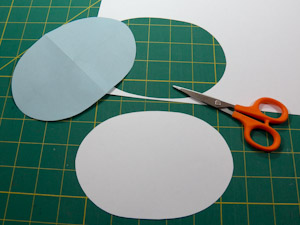
Cut out the oval on the traced line. Be sure to cut smoothly along the pattern's outline. The box will be stronger and fit together better if the cuts accurately follow the pattern piece outlines.
Tip: If you are making a lid for your box, keep the paper pattern or trace your oval cutout onto paper. The lid will be made using a slightly larger oval.
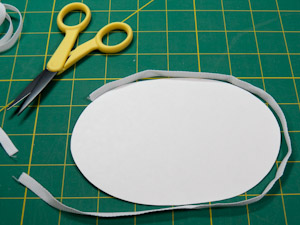
Determine the length required for the side band by wrapping a length of ¼" ribbon or string around the edge of the oval cutout. Cut the ribbon where it meets the tail end.
Measure the length of the ribbon and add about ¼" for overlap when gluing. This is the length of the box side band.
Tip: For future reference, write the length of the side band on your oval pattern.
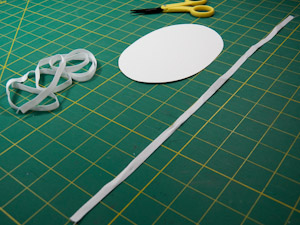

The side band is a simple rectangle with cut glue tabs.
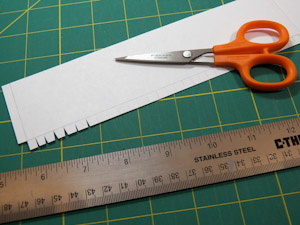
Draw the rectangle the calculated length by any height you choose, adding about ¼" to the height for the bottom glue tabs. Draw a line the length of the band ¼" in from one side. All along the same edge, make equally spaced marks about ¼" to ½" apart.
Tip: You may need to make the side band in two parts if the length is longer than your cardboard. To do this, add an additional ¼" to the side band length and divide by 2 to get the length for the two parts. Both parts will have a ¼" glue tab.
Snip V-shapes at each mark to form the glue tabs.
You should now have the two pieces needed for making your oval box. Follow the instructions in Oval Box with Lid project for assembling your custom oval box.
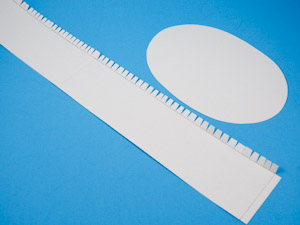
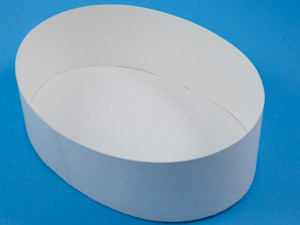
Repeat steps 1-4 to make a matching oval box lid. Make the oval cutout for the lid about 1/16" to 1/8" bigger than the oval for the box bottom, depending on the thickness of the cardboard, and make the width of the side band about ¼" to ½" smaller. Be sure that the oval for the lid is exactly the same shape as the one for the bottom.
Make a lid for your box and you
are done!
